by Daniel | Last Updated May 1st, 2023

We may earn a commission for purchases using our links, at no cost to you.
Impact-Site-Verification: -526370191
A couple of weeks ago I received the newly released Lanmodo D1 3-Channel 4K Dash Cam and I’ve been using it every time I take the car out.
So in this article, I just wanted to do an unboxing of the Lanmodo D1 dash cam and give you an overview of everything that comes in the box, and then I’ll talk you through the simple process of installing the camera and then show you how it performs.
Receive 15% off the Lanmodo D1 3-Channel 4K Dash Cam from Amazon
Use Coupon Code: LMDXNYCARS
Now the Lanmodo D1 3 Chanel 4k dash cam comes with a front-facing camera, a rear-facing camera, and an interior camera.
This setup allows for a much wider coverage area compared to other types of dash cams, which typically only have one or two cameras.
And this dash-cam is perfect for pretty much anyone, specifically if you drive a taxi, or offer ride-sharing services through a company like Uber or Lyft.
Seeing that it gives you a more complete view of any potential incidents that may happen whilst you are driving, it provides you with an added level of protection.
This can be specifically helpful in providing insurance companies and law enforcement officials with video evidence of any incidents, which will make it a lot easier for them to determine who is at fault more accurately.
So let’s just start by taking a look at what comes in the box of the Lanmodo D1, 3-channel dash cam.
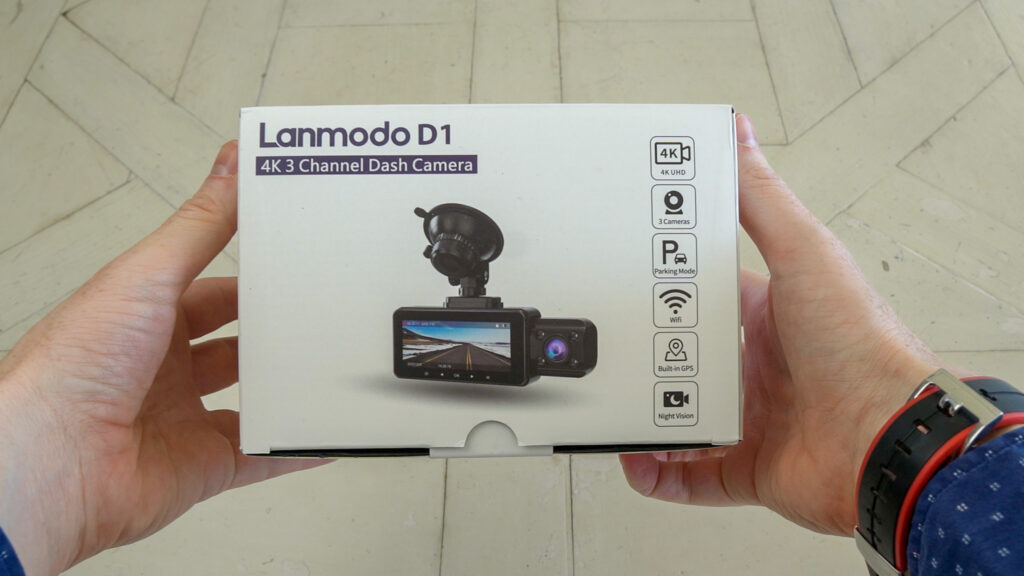
And the package is quite compact and you can see on the front of the box are some of the features included with the D1 Dash cam which are:
- 4K UHD
- 3 cameras (the includes a front-facing, rear-facing, and interior camera).
- Parking Mode
- WiFi
- Built-in GPS
- Night Vision.
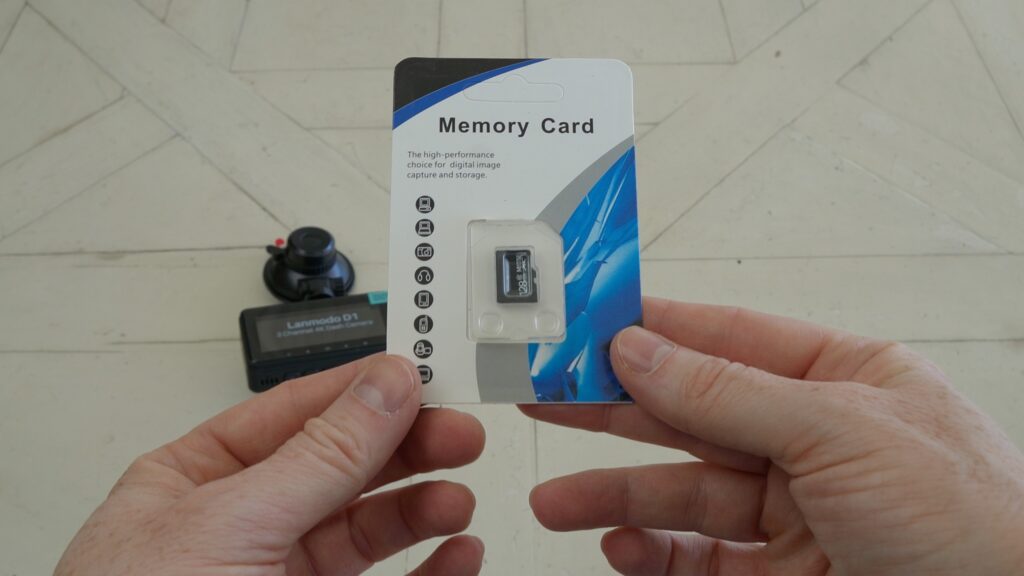
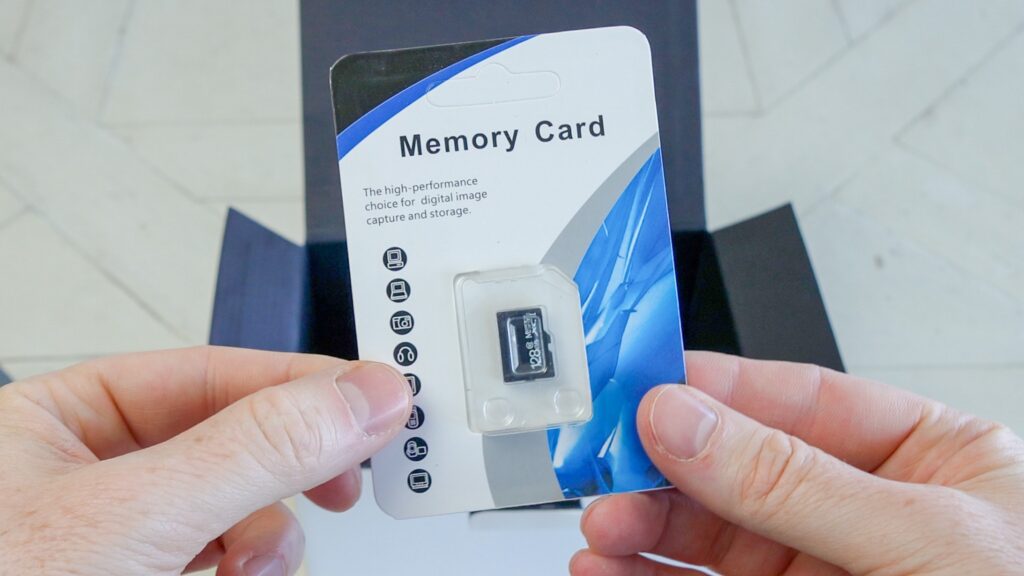
And when ordering this dashcam I also opted for a 128G TF card (Trans Flash card) so I can easily save any footage that is recorded whilst I am driving in the car.
Now the first item in the box is the actual dash cam which has a 3.2-inch display that shows you what each camera is recording when the cameras are active, and then just to the right of the screen is the Internal camera that has the ability to rotate 280 degrees, this has a Sony IMX307 Sensor which has a view angle of 165 degrees.
Then when tuning the dash cam over slightly you will see some physical buttons.
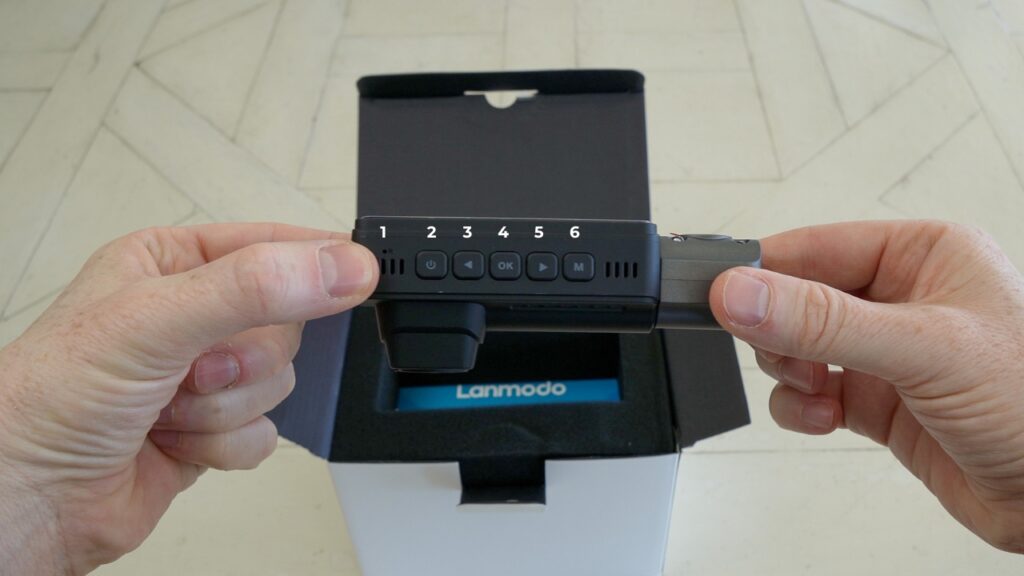
- 1 = Reset button
- 2 = Power Button
- 3 = Up Button
- 4 = OK Button
- 5 = Down Button
- 6 = M Button
1. And before I go through the buttons, on the very far left-hand side of the dash cam (number 1) is the ‘Reset Button‘
2. The next button on the left is the ‘Power Button’ which is used to power on or power off the dash cam manually. (but just note that the dash cam will start to operate automatically once it is installed.
This button can also be used to switch the screen off if you don’t want to have it on when you are driving, (and don’t worry, it will still continue recording from all 3 cameras.
3. Now the next button along is the ‘Up Button’, and this has multiple functions, basically it can be used to move through the menu when you are looking at it on the screen.
It can also Lock the function of the screen so the other buttons don’t work.
And it also turns on or off the WiFi settings, and to do this just press and hold the button until you see the WiFi information pop up on the screen.
This will allow you to connect your phone to the dash cam via an app called “WitCam”
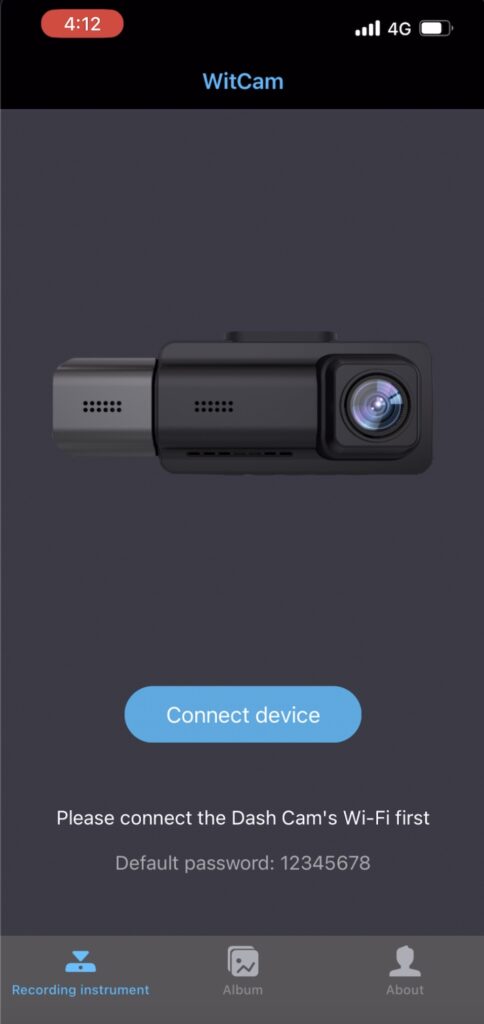
This app can be downloaded to help control the dash-cam from your mobile phone.
And the easiest way to find this app is to go to page 12 in the instruction manual and just scan the QR code that they have provided.
Once this app is installed you will be able to connect to the Dashcam via its inbuilt WiFi.
4. Now the next button along is the “OK Button“, and this is used either to confirm your selection when you are within the Menu mode or to start or stop recording.
Now to tell if the device is actually recording you will notice a little red dot on the left-hand side of the display, so when I press the OK button you will notice the red dot disappears, and then when I press the OK button again, the red dot reappears which means the dash cam is actually recording.
5. Now the next button along is the “Down Button” and this basically allows you to either scroll through the Menu or you can switch between camera views, there is the front-facing view, the internal view of me holding my iPhone, and then the rear-facing camera.
6. Then the final button is the ‘M Button’ which allows you to access the Menu and also browse through any pictures or videos you have saved to the device.
To use this, just press and long-hold the M button to bring up the files that are saved to the device, and to get out of this view, just press and long-hold the button, and it will take you back to the original screen.
Now on the Front side of the Dash-cam here is the Front facing camera, this has a Sony IMX335 Sensor which has a view angle of 165 degrees.
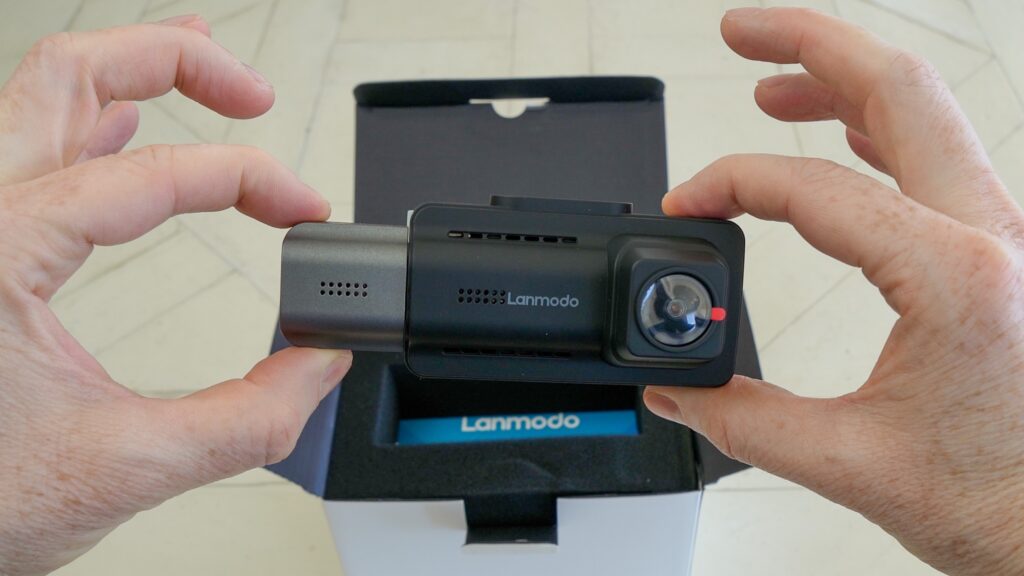
And all 3 of the cameras that are included with this dash cam have the ability to film in QHD (Quad High Definition), UHD (Ultra High Definition), or FHD (Full High Definition), and then you can choose between either 30 FPS or 24 FPS.
So depending on what setting you choose to film in will affect how much recording time you can store on the SD card.
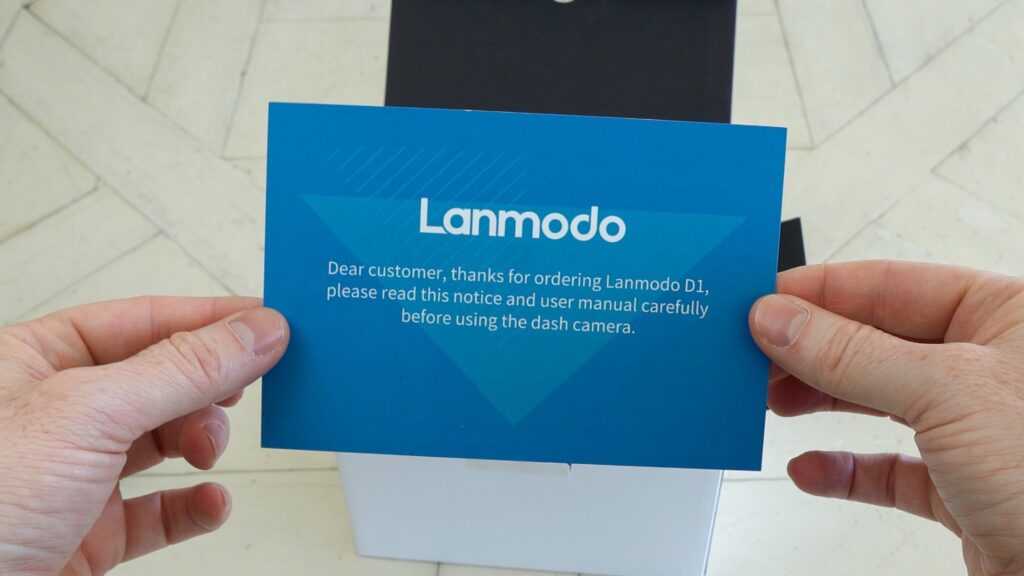
Now the next item in the box is a thank-you note from Lanmodo that has a list of things to follow before using the Dash-cam.
Then next up is the 128g memory card which should be able to provide up to 14 hours of recording for all three cameras if they are set to 24 FPS, with the front camera using UHD and then the inside and rear camera using FHD.
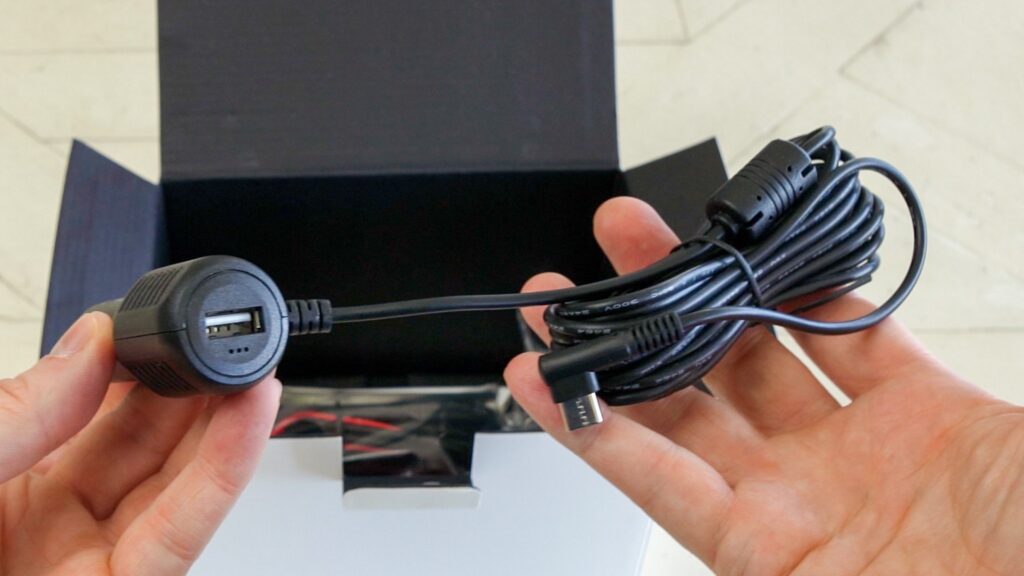
The next item here in the box is the power supply cable that plugs into the cigarette lighter, and this is used to connect to the dash cam and power it.
You will also notice that there is a USB charging port on top of the charger that you can use to charge your phone.
Now the next item from the box is this suction cup that has the ability to first connect to the dash-cam via two magnetic points, and this is actually quite secure, as you can see here once the dash-cam is locked in, it doesn’t really move.
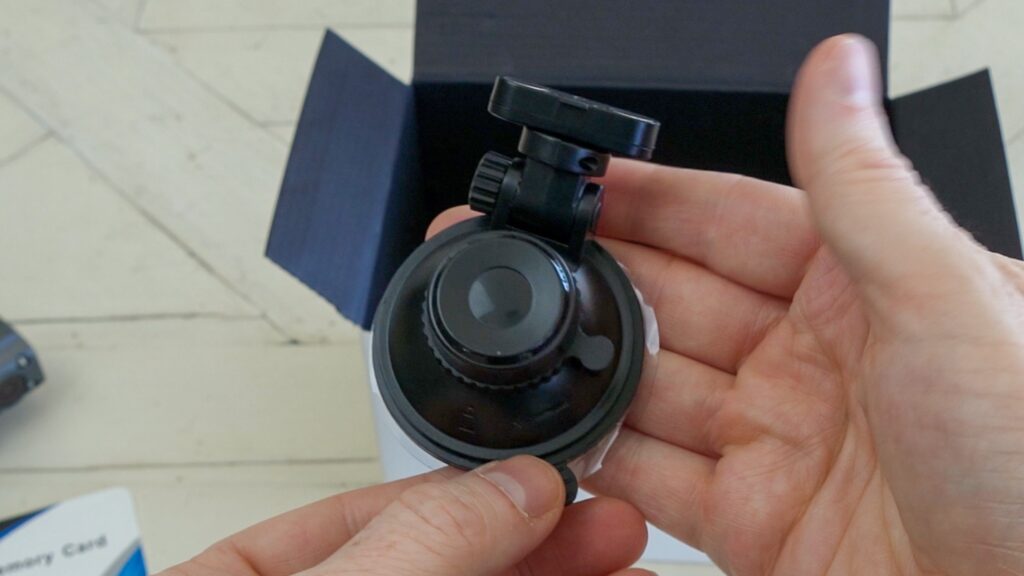
Then once you have the dash-cam secure, you can just attach the suction cap to the desired location on your windscreen.
The next item here is the rear-facing camera that offers a 170-degree View Angle, and it has a rotational fitment so you can adjust the level of the actual camera.
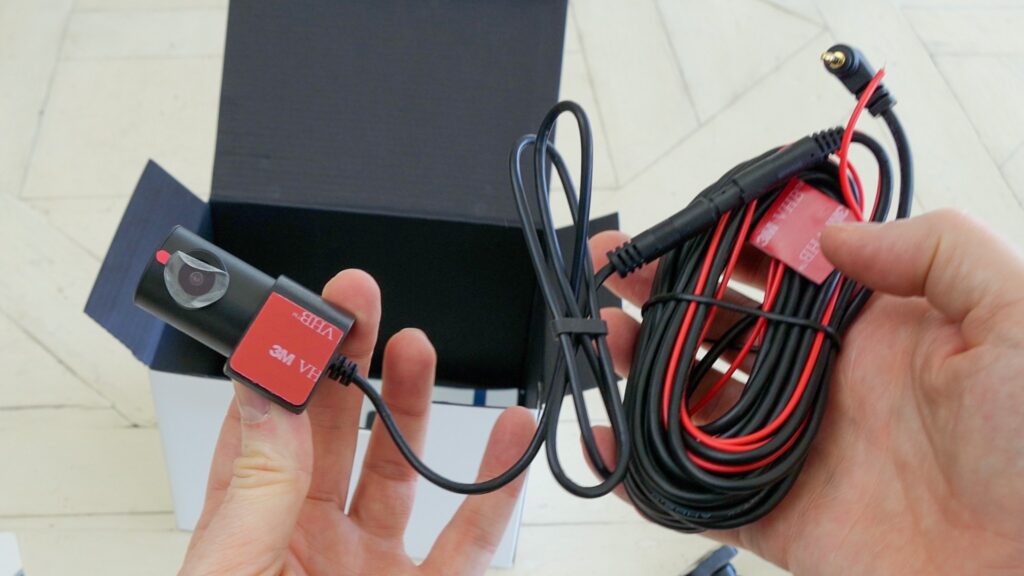
As you will see on the camera mount is a 3M Sticker that should quite easily hold the camera on the inside of your rear window, and there is a Spare 3M sticker just in case you need it.
Once the rear-facing camera is installed you will actually need to direct the wiring back to the front-facing Dash-cam so it can power the camera and provide you with the rear video footage.
And this wiring is approximately 6 meters in length.
Now you might notice that there is a red wire in amongst the black wire, this can actually be connected to the reverse light, which will give you the ability to use the rear dash-cam as a reverse camera.
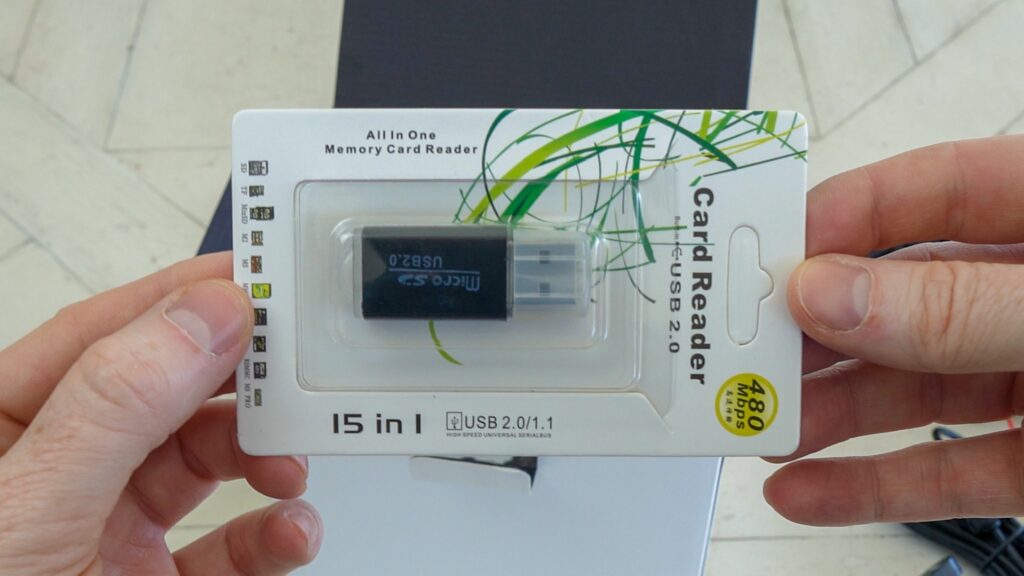
The next item in the box is a USB to USB C cable which can be used for the following item inside the box which is a card reader and this can be used to transfer the data from the SD card to your computer or mobile phone.
The last item in the box is the user manual, which goes over how to use and install the dash cam.
So when it comes to installing the dash cam it is relatively straightforward, and shouldn’t take much more than an hour to do.
Now Im no expert in installing dash cams, so the overall finish of the fitment is not perfect, but it works.
If you are not 100% sure of your ability to install the Dash Cam It might be a good idea to get a professional to install it for you.
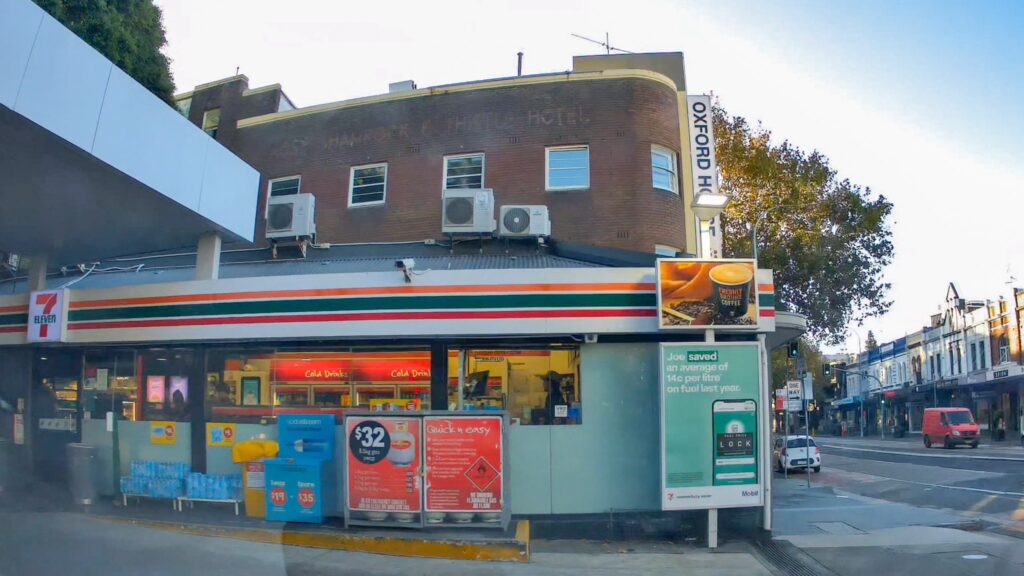
In terms of video quality, I have the settings for each camera on the highest quality.
And the videos and the pictures from every camera whether it is during the day or at night are clear enough to make out what the street signs say and even what the number plates are of the cars that come within a reasonable distance to my car.

Now the internal camera can also record sound from within the cabin.
This can be quite useful if you are driving for Uber or Lyft and there is an issue with a customer, it basically just provides you with an added level of security.
So after using the Lanmodo D1, 3 channel 4K dash-cam for the past couple of weeks, I think that it’s a great little dash-cam that is super easy to install and relatively straightforward to use.
For me personally, I like the fact that I am somewhat more protected in case of an accident.
I also like the fact that the dash cam has GPS, this basically provides you with the time, date, location, and speed you are traveling at any given time.
So if you are interested in purchasing this dash cam, or any other product from Lanmodo you can receive up to $50 off your next order by clicking this link and then using the Coupon Code ‘LAM8TH’ – but just note that this is only valid until May 10th
